The Anatomy of Reversing the Aging Process
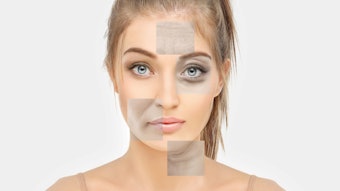
The periorbital region plays a crucial role in our self image. Whether we want it to or not, the periorbital region conveys if we are awake or tired, happy or sad, or youthful or aged. A youthful appearing periorbital space consists of proper brow height, fullness of the periorbital area, good skin tone and texture, minimal rhytids, brow height and shape. While we all recognize the importance of the periorbita, there are a number of different approaches to periorbital rejuvenation, all of which provide useful, durable results in reversing the ravages of time.
Evaluation
As with any problem, the first step is defining it. In our case, the problem is aging, and we need to accurately diagnose the signs and symptoms contributing to the aging face. As with any exercise in aesthetics, anatomy will always inform us of the appropriate use of technology and technique. With this in mind, the first step in periorbital rejuvenation is understanding the anatomical relationships of the ideal eye.
The brow position, upper lid laxity, ptosis, fat protuberance to the lower eyelid, dynamic rhytids, dyspigmentation, hollowed temples, lid cheek junction and cheek projection all play a role in the evaluation of the periorbital region. A global understanding of the anatomy (see Facial Anatomy) and how the anatomy is affected throughout the aging process will provide you with the tools you need to decide what needs to be treated.
Neuromodulators
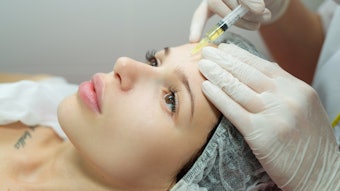
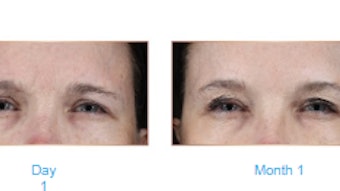
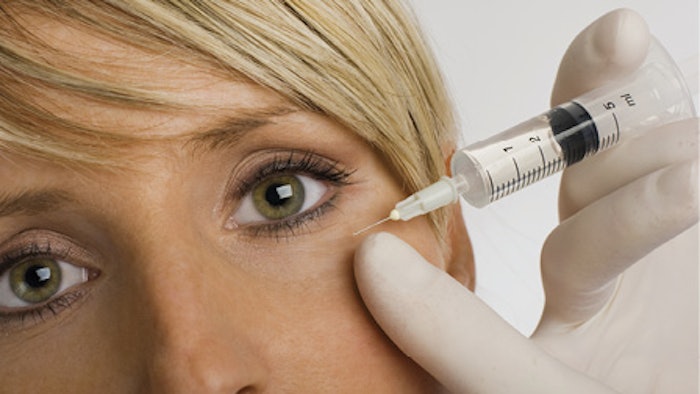
The first and most obvious treatment for the periorbital region is going to be neuromodulators. The use of onabotulinumtoxinA (Botox, Botox Cosmetic), incobotulinumtoxinA (Xeomin, Merz) or abobotulinumtoxinA (Dysport, Galderma) to treat the fine periocular dynamic rhytids is one of the most effective and cost-effective procedures to enhance this area.
Botulinum toxin acts by binding pre-synaptically to high-affinity recognition sites on the cholinergic nerve terminals and decreasing the release of acetylcholine, causing a neuromuscular blocking effect. Using neuromodulators to inhibit muscle movement will then cause the relaxation of the intended muscle and thus smooths the appearance of the skin. With an advanced understanding of anatomy and how muscles work (see Facial Muscles), we can go one step further than merely smoothing the skin. We are able to augment muscle position and modulate muscle volume. Like a camera lens, the orbicularis oculi muscle is a sphincter. When activated, it will close. Administering a toxin to the corrugators, procerus, orbicularis oculi and frontalis all play a role in helping elevate the brow position and brighten the eyes.
In practice, I refer to this technique as a “chemical brow lift.”
How many times have we had a consultation where a patient says they “always look tired?” In every social setting, the eyes are the first subunit of the face that one focuses on. Elevating the brow position can dramatically improve the appearance one’s face and makes that person appear much more awake and refreshed. The average number of units used for a chemical brow lift is 30U of Botox or Xeomin and roughly 90U of Dysport. Of course, the duration of action is always going to be variable for each patient, but they should get the average of 3-4 months.
Dermal Filler Therapy
Periorbital structural changes with aging are categorized into dynamic and static changes. The dynamic component is related to muscular activities and changes in resting muscle tone. The static component is defined as the changes related to volume loss as well as bony and fat pad changes. Fillers are ideal to address the static components such as deep furrows and lines as well as age-related volume loss and skeletonization.
Being able to identify the area in need of treatment in the evaluation is of key importance. For instance, administering filler to the tear trough for a patient with a positive vector of the lower lid from the presence of a pseudoherniation of fat would result in the patient appearing as if they have an overactive thyroid and exophthalmos. A surgical intervention would be the patient’s best outcome in that scenario. However, administering a high G prime filler on periosteum to the lateral cheek will help to soften the appearance of the tear trough and fat herniation.
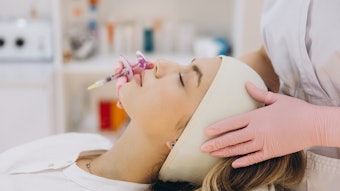
The structure of the cheek plays an integral role in the appearance of the periocular region. Fine lines, infraorbital hallows, loss of bone and loss of the surrounding fat pads have a direct influence on the periorbital region. Using a hyaluronic acid (HA) filler with a high G prime or a calcium-based filler with the highest G prime will help to enhance the periocular region by lifting the mid face and softening the appearance of fine lines and hallows under the eyes, in addition to replacing the natural volume loss. Starting at the zygomaticotemporal suture and then stepping anteriorly in small 1-1.5 cm increments till you get just medial of the apex of the cheek will help ensure a smooth appearance of the filler to the lateral cheek. To identify the apex of the cheek, draw a line from corner of the eye to the corner of the mouth and then from edge of the nostril to the tragus of the ear. The convergence of the two points is considered the apex of the cheek, where the light reflection is observed. The standard projection of the lateral cheek compared to the jawline in a female is roughly 2cm. Overcorrection of the lateral cheek could make the patient appear like Maleficent. Product placement should be deep on periosteum at a 90 degree angle for maximum lifting of the cheek. The role of biostimulatory products such as calcium hydroxylapatite fillers (Radiesse, Merz), poly-L-lactic acid fillers (Sculptra, Galderma) or natural fat fillers (Renuva, MTF Biologics) are also great products to consider for treating the cheek.
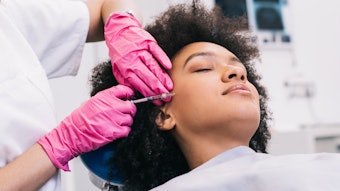
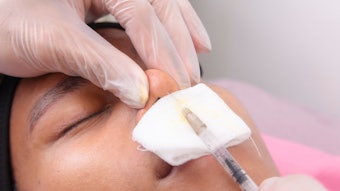
Tear trough. Unlike the cheek, when using filler for the tear trough, the preferred product is that of a low viscosity and low G prime. Two approaches can be used to administer the HA to the area, one being needle and the other being cannula. If using the needle approach, it is imperative that the injection plane is extremely superficial in the epidermal-dermal junction. Injection of filler to the deeper plane can develop irregularities and greater chances of migration. One of the downfalls of a needle approach to the tear tough is the increased chance of causing hemosiderin staining. The staining of the skin can last longer than standard bruising due to the thin skin. If using a cannula for the tear trough, I recommend a 27G 1.5in. With the cannula approach, it is important to stay deep on the injection plane. Making sure to inject with small retrograde injections will ensure a soft fill of the tear trough.
Hallowed temples. Hallowed temples can sometimes be over-accentuated if the projection of the lateral cheek is too great or if the patient has had too much volume loss. Consider your athletic, thin-framed patient that has very strong lateral cheek components like that of most runway models. Although that look is very attractive for those who have minimal volume loss due to their young age, as they age, the appearance of the deep temples starts to show due to natural volume loss and the patient ends up look more cachectic. Correcting this can be addressed in two ways using filler, the deep or superficial approach.
For the deep approach to injecting filler, it can be very unsettling for the unexpected injector, and I would highly recommend formal hands-on training for not just this injection, but all of them. The general rule of injecting the temple is “1cm up and 1cm over,” meaning 1cm superior to the tail of the brow along the temporal fusion line and 1cm inferior to this point. The deep injection is right on bone and a needle is best utilized for this. For superficial injections, the cannula approach is going to be the safest option. As for the product to use, there is a great variability in product choice for this area. For the deep injection a product of high G prime is preferred, unlike the superficial cannula approach where a lower G prime is indicated.
Combination Treatment
If it was easy to correct the periocular region, you probably would not be sitting here reading this article right now. Sometimes the answers are not straight forward and require an in depth understanding of the underlying problem, why it is there, how to fix it and ensuring that fixing one problem does not cause another. The anatomy will always tell you what needs to be done; you must be able to speak the language of anatomy. Product selection, administration and placement are all components of the toolkit that you use to fix the area in need of correction.
Alan Durkan, M.D., is a plastic surgeon at Ocean Drive Plastic Surgery and MedSpa as well as the CEO and medical director. He specializes in facial cosmetic surgery and cosmetic breast surgery. He is certified by the American Board of Surgery and American Board of Plastic Surgery.

